5.0 Google
Living Water Landscape — Design, Build, Maintain

Treasure Coast · Palm City, FL

Pavers

Paver driveways, patios, walkways, and pool decks across Palm City and the Treasure Coast — built on a properly compacted base with correct edge restraint, not cosmetic shortcuts.

Overview

What this service is, and who it's for.

A paver installation looks simple on day one and reveals itself over the next two or three rainy seasons. Settling, waving, lifted edges, loose joints, weeds pushing through — those are almost always base problems, not paver problems. We install to ICPI (Interlocking Concrete Pavement Institute) specs because Florida's sandy, water-mobile subgrade is unforgiving of shortcuts.

That means excavating to a true subgrade depth, a compacted aggregate base sized for the load (deeper for a driveway than a pedestrian patio), a screeded 1-inch bedding sand layer, pavers laid tight to pattern with correct bond, polymeric sand swept and activated in the joints, and edge restraint along every free edge. Skip any one and the install starts failing earlier than it should.

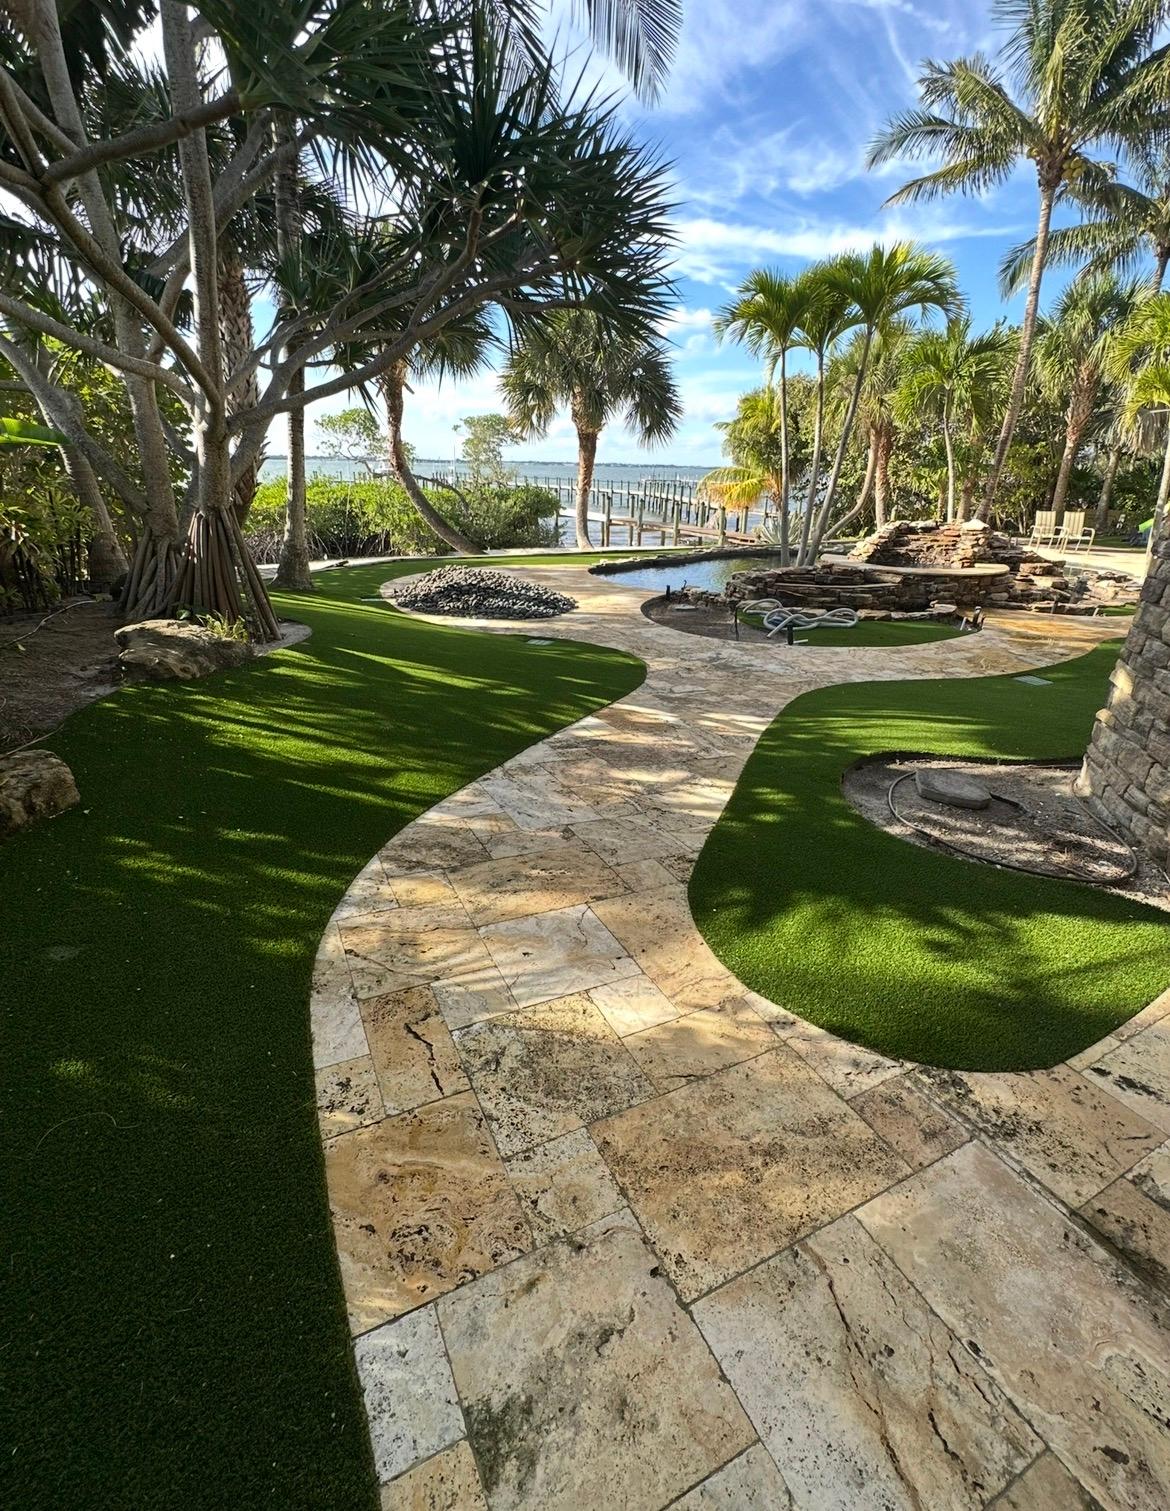
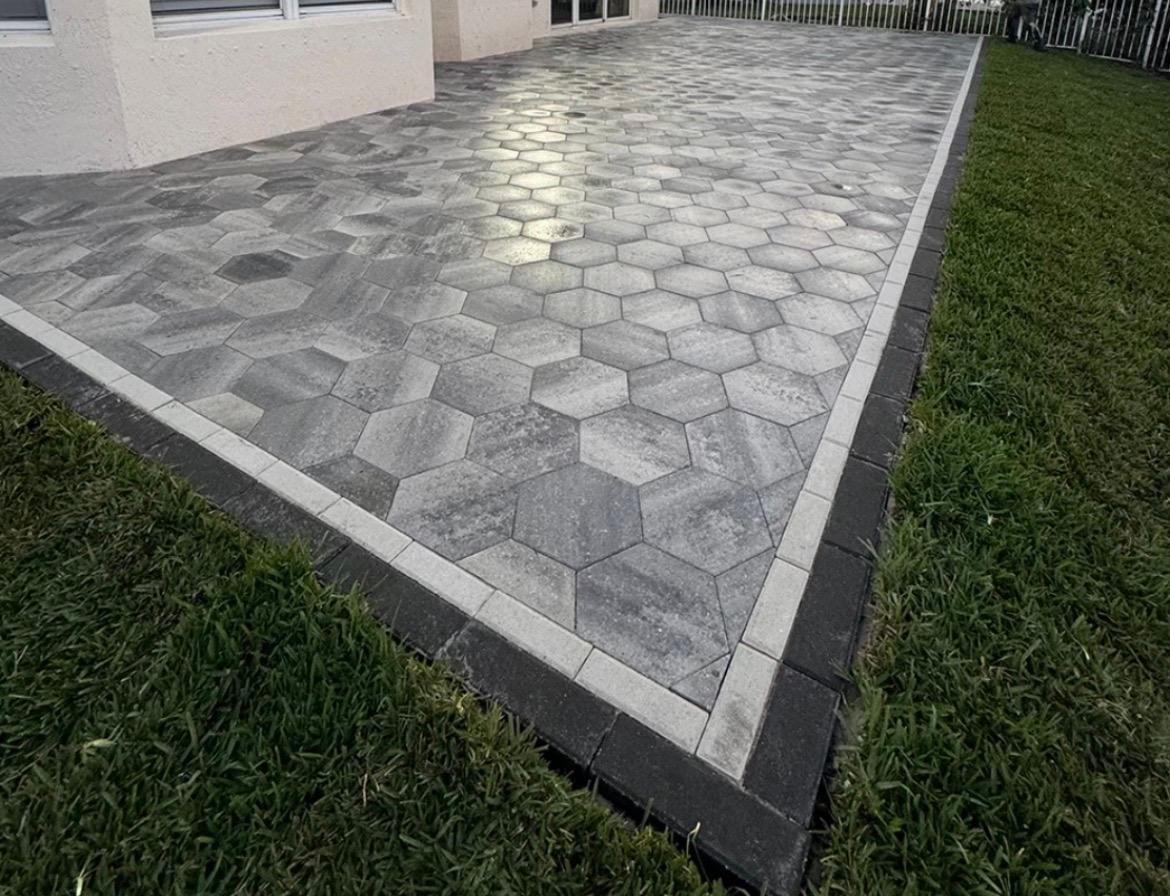
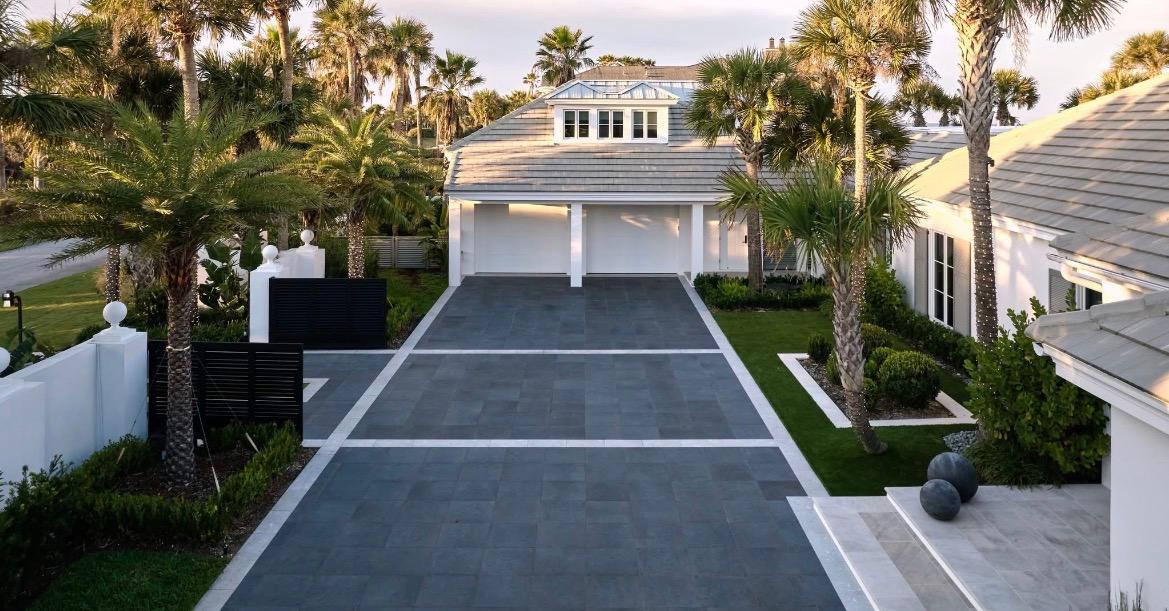
On the Treasure Coast we work mostly in concrete pavers (Belgard, Oldcastle), travertine, and cut natural stone. For driveways we favor pavers rated for vehicle loading. For pool decks we specify a non-slip finish and lighter colors that run cooler underfoot. For patios we have more flexibility on finish and pattern.

Drainage is baked into every install. Pavers are a permeable system by design — water moves through the joints — but only if the base and slope support it. On projects where water is a persistent problem, we scope drainage alongside the paver work so the hardscape isn't fighting the yard.

What's Included

Concrete scope — not vague promises.

  • Driveways rated for vehicle loading
  • Pool decks with non-slip finish and heat-aware color selection
  • Patios, courtyards, and entertaining areas
  • Walkways and connections between zones
  • Excavation and subgrade preparation to spec
  • Aggregate base compacted in lifts, depth matched to application
  • Properly screeded 1-inch bedding sand
  • Polymeric sand joint stabilization
  • Edge restraint along every free edge
  • Optional sealing (natural or wet-look finishes)
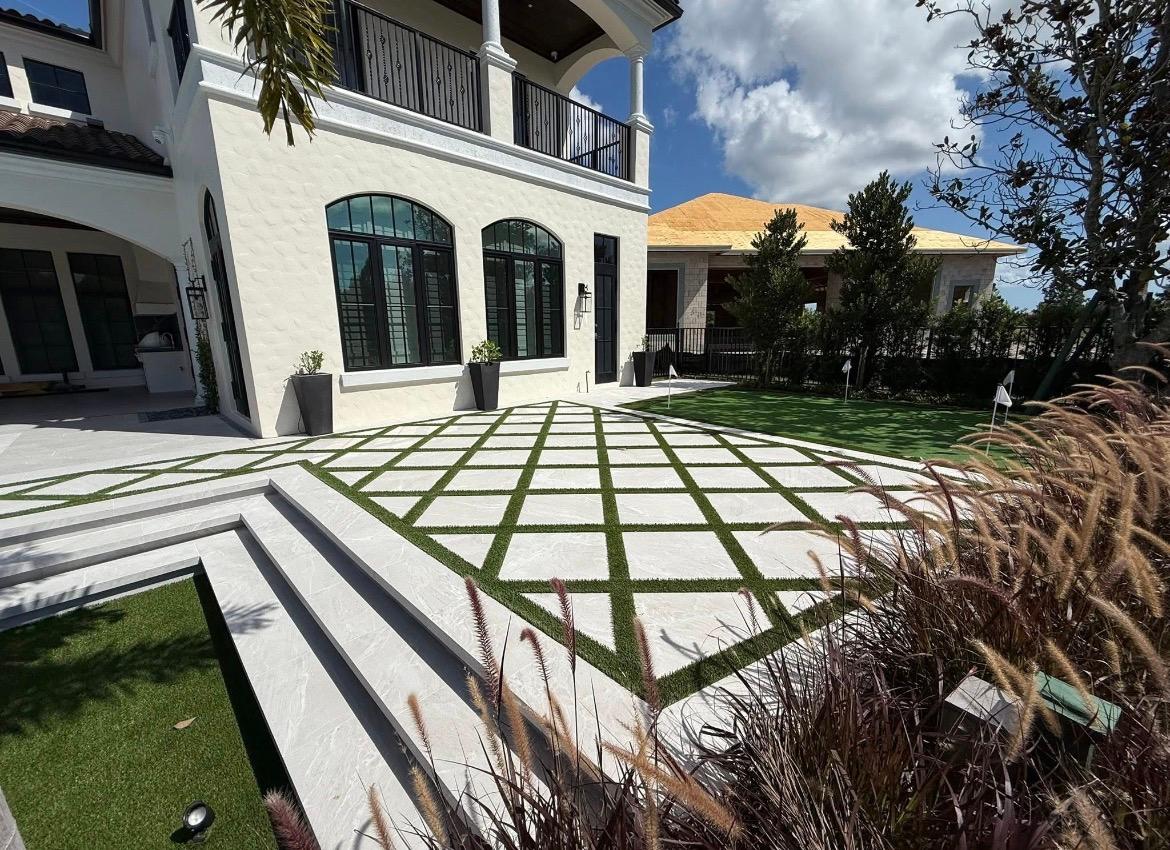
  • Border, inlay, and banding patterns on request
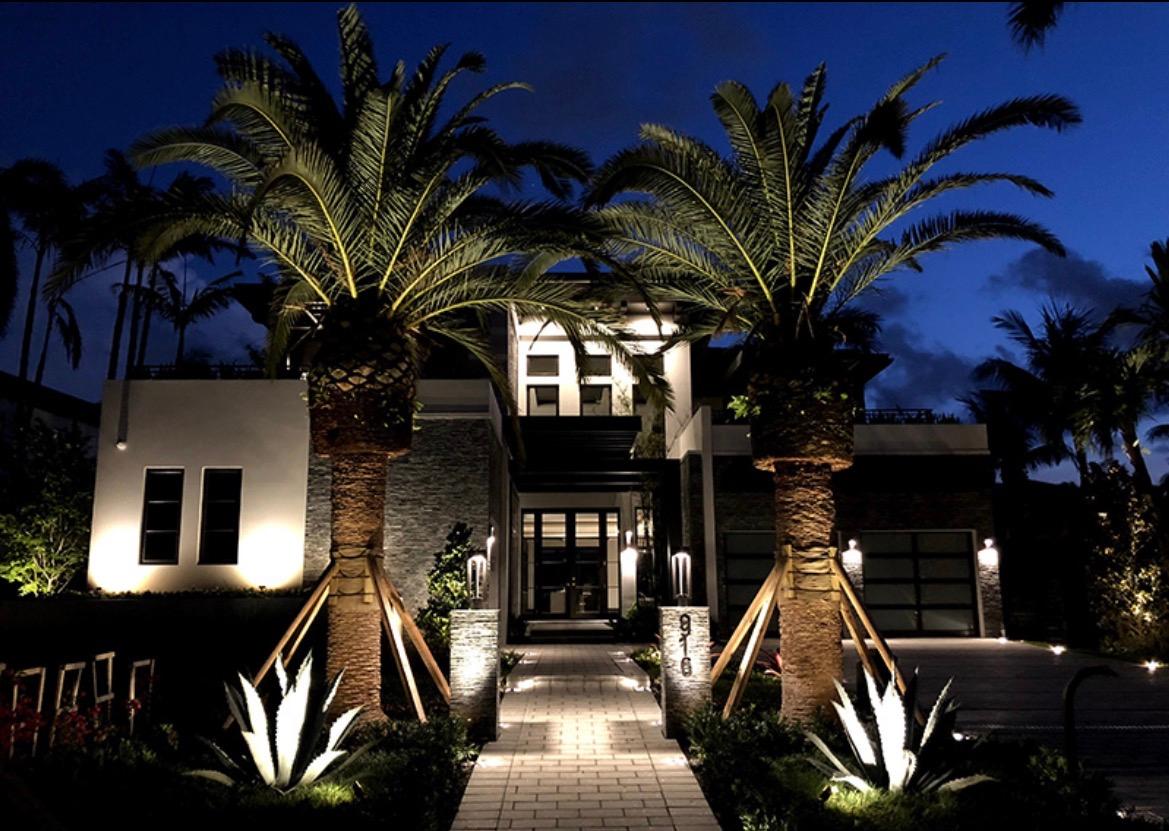
  • Integration with surrounding landscape design and lighting

Before You Call

Check your existing pavers before the visit.

A quick look you can do yourself — no tools or digging. It makes the first visit faster and more useful.

  • 01Walk the field after a hard rain. Note any standing water that lingers more than an hour — that's usually a base or slope issue, not a paver issue.
  • 02Look for waves, dips, or raised edges. Follow the pattern across the whole surface; isolated settling has a different cause than wholesale drift.
  • 03Check the joints. Missing sand, visible weeds, or ant activity means the polymeric sand has failed and needs rework before further damage.
  • 04Walk the edges. If pavers along the perimeter are rocking or spreading outward, edge restraint has failed or was never installed properly.
  • 05Spot a cracked paver or two? Note how many and where. Isolated cracks usually just need unit replacement; a line of cracks points to a base problem.
  • 06If you're considering a new install, photograph where downspouts land and where water currently exits the yard — it changes the pattern and slope conversation.

Our Process

How a pavers project runs.

  1. 01

    Site measurement & material selection

    We measure the area, pick material and pattern with you, confirm elevations and slope, and sample colors on-site in the actual light.

  2. 02

    Base preparation

    Excavation to subgrade, filter fabric where needed, aggregate base compacted in 3-inch lifts, then a true 1-inch sand screed.

  3. 03

    Paver installation

    Pavers set tight to pattern, cuts made for borders and curves, edge restraint locked in along every free edge.

  4. 04

    Jointing & finish

    Polymeric sand swept and activated, surface cleaned, optional sealer applied, and a walkthrough to confirm every detail.

In Our Clients' Words

A verified Google review for this service.

Posted by a real homeowner on Google. Preserved verbatim — we don't edit, paraphrase, or stitch review text.

Verified · Google
I've used this company for multiple projects over the years, including a recent paver installation and a lot of landscaping work, and they've always done an excellent job. Great quality, reliable service, and everything always comes out looking awesome. Definitely a five-star company and one I highly recommend to anyone looking for pavers or landscaping work!
— Steven Koenkea day ago
  • pavers
  • landscape installation
  • retaining walls
  • drainage

FAQ

Questions buyers actually ask.

Almost always a base problem — insufficient aggregate depth, improper compaction, or inadequate drainage under the field. A properly built install shouldn't settle beyond minor seasonal movement. If you're seeing waving across the whole field, the fix usually means pulling the pavers and rebuilding the base. Isolated low spots can sometimes be lifted and reset.

Depends on the application and the subgrade. A residential driveway typically runs 6 to 8 inches of compacted aggregate over a prepared subgrade; a pedestrian patio can go thinner. Florida's sandy soil often requires more base, not less, because the subgrade doesn't hold compaction the way clay does. We spec to the actual soil, not a textbook average.

Not required, but it has real benefits: slower color fade, stronger polymeric joint sand, easier cleaning. On driveways and pool decks we usually recommend it. On walkways it's optional. Sealers typically need refreshing every two to three years; we'll walk you through the trade-offs honestly rather than selling the add-on.

Washed-out or degraded joint sand. Weeds don't grow up through pavers — they germinate from seed that lands in open joints with organic debris. Resetting the joints with polymeric sand usually solves it. If pavers are rocking in addition to the weeds, the base needs attention first.

Sometimes — if the concrete is structurally sound, drains properly, and threshold heights at doors and transitions can absorb the added lift. We evaluate the slab and tell you honestly whether an overlay is appropriate or whether the install should go to grade. An overlay that works great on paper can fail if the underlying slab is cracked or holding water.

Individual pavers can be lifted and replaced without disturbing the field — that's one of the real advantages of pavers over poured concrete. We stand behind our work and address installation issues promptly. If the cracking is widespread rather than a single unit, that's a base conversation.

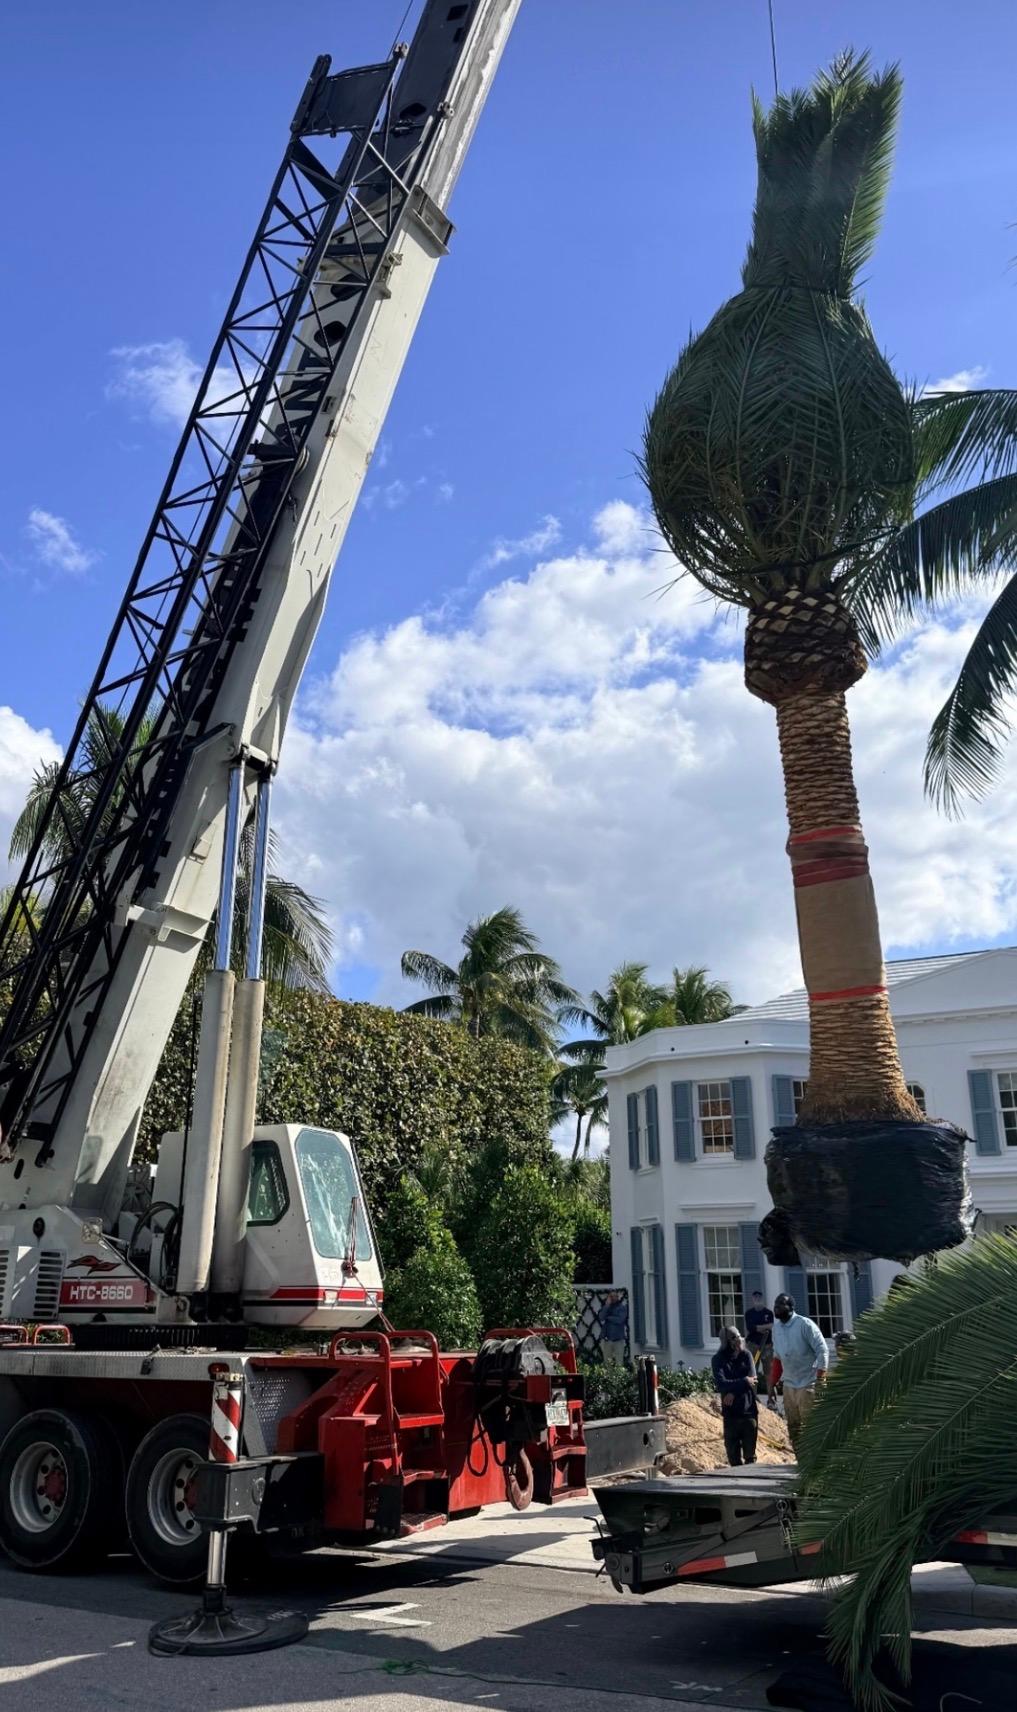
A typical residential driveway runs about a week to ten days on-site depending on scope, demolition, and drainage work. Larger projects with retaining walls, specimen trees, or coordinated pool-deck work run longer. We give you a realistic calendar before anything moves.

Get Estimate

Ready to scope your pavers project?

Share a few details and we'll follow up to walk the property and put together a clear plan.

Project Consultation

Tell us about your project

No spam. Your info is used only to respond about your project.